
Create Account
Complete the simple LinkAssist onboarding flow, connect your LinkedIn account, configure your profile, and start scheduling high-converting content.
LinkAssist is an AI-powered LinkedIn content automation platform designed to help you build a strong personal brand, generate qualified leads, and publish high-engagement posts consistently.
Sign Up & Account Setup Flow
Follow these simple steps to connect your account and personalize your AI assistant.
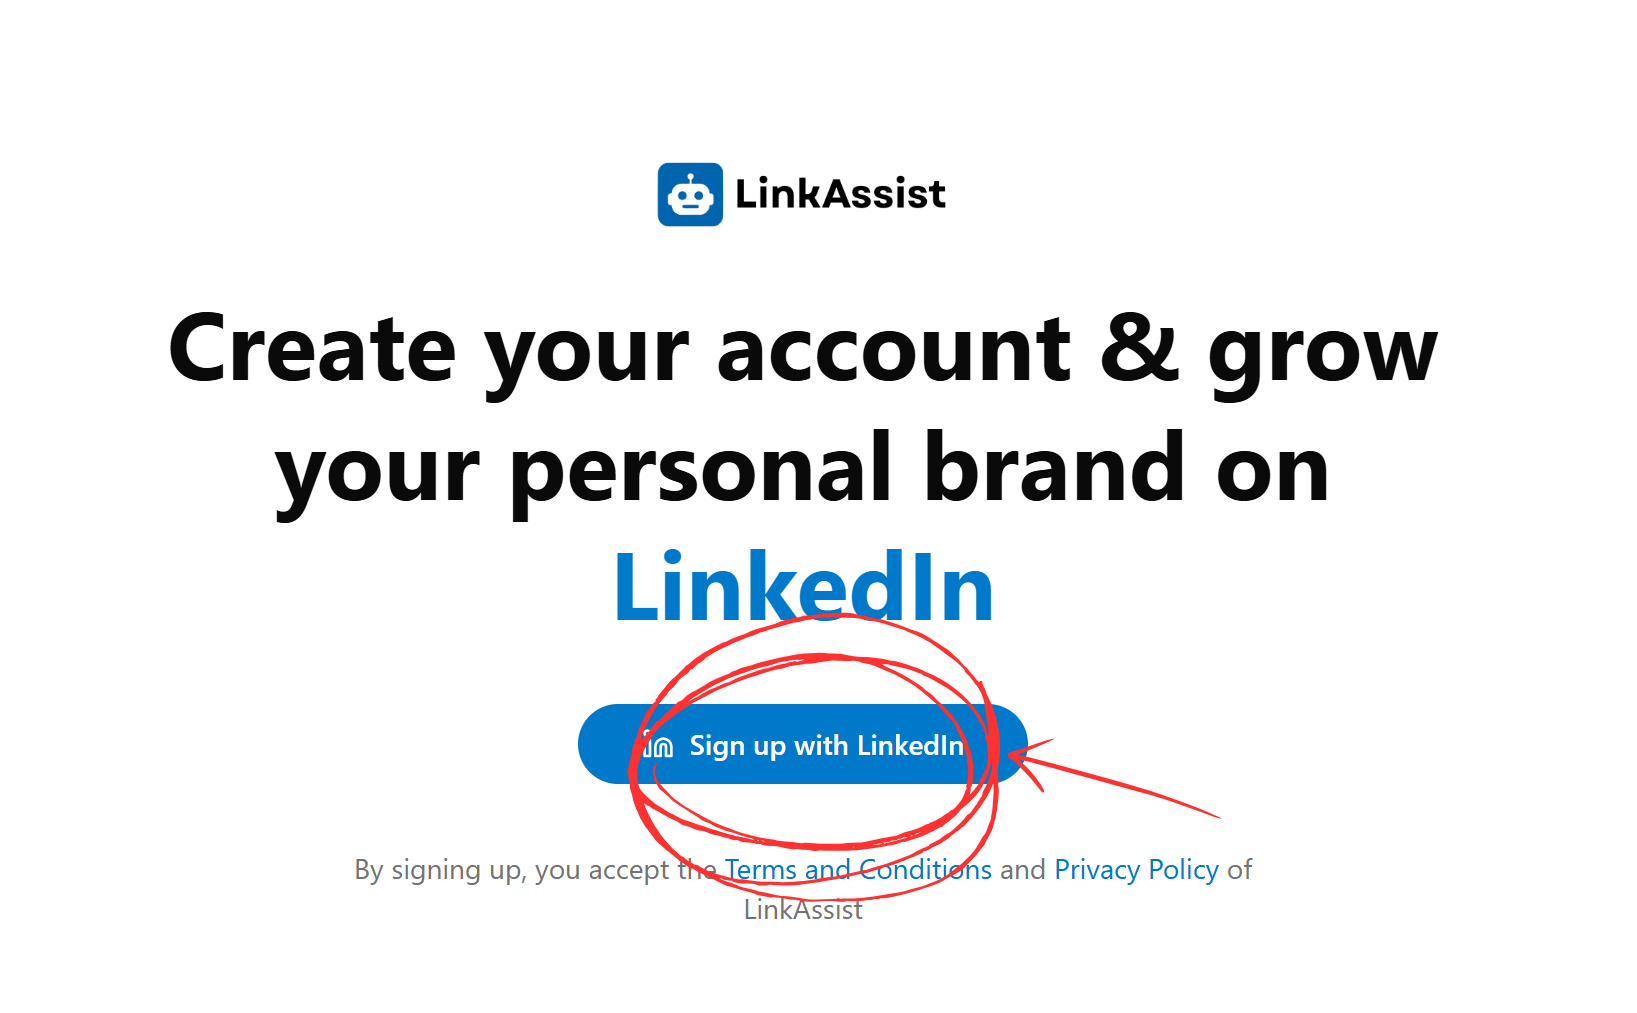
Step 1: Click 'Sign up with LinkedIn'
Navigate to the LinkAssist homepage and click the blue Sign up with LinkedIn button.
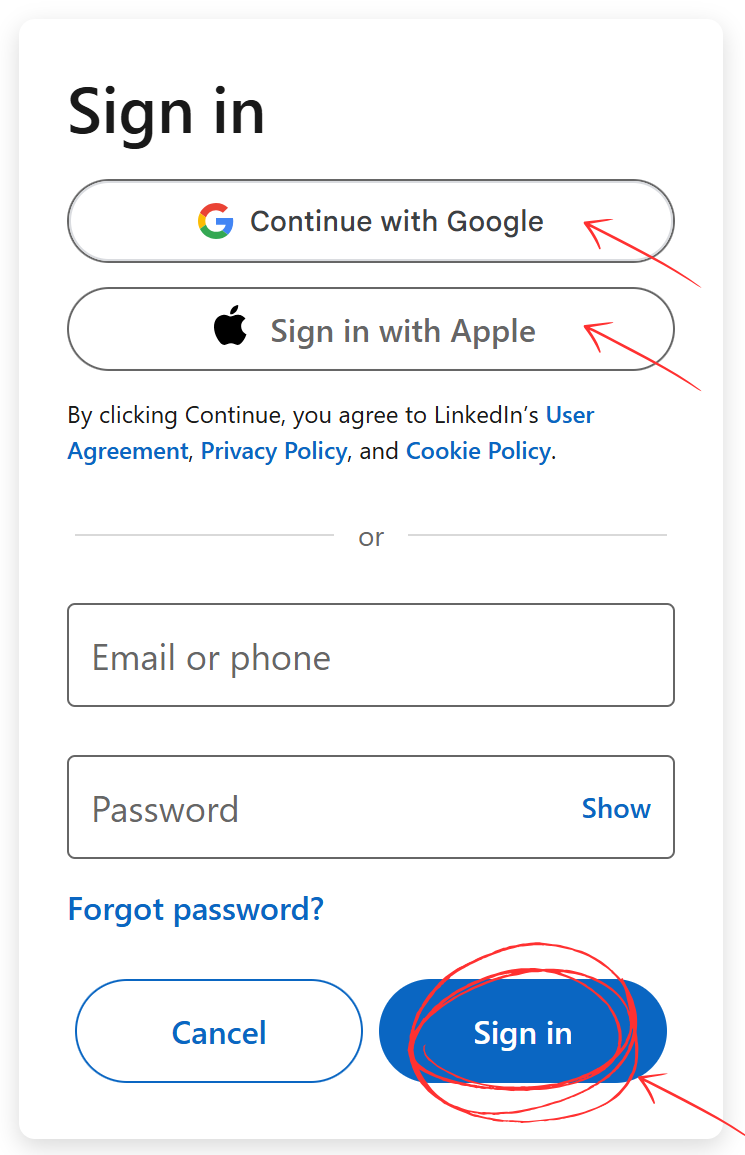
You will be presented with the standard LinkedIn authentication window with multiple secure sign-in options:
- Continue with Google — Fast one-click authentication via your linked Google account.
- Sign in with Apple — Secure sign-in using your Apple ID.
- Email / Phone & Password — Direct login using your registered LinkedIn credentials.
Privacy & Security Guaranteed
LinkAssist uses official LinkedIn OAuth authentication. Your password is never stored or accessed by LinkAssist, and we never read your private LinkedIn messages.
Step 2: Authorize LinkedIn Access
Once you submit your credentials, LinkedIn will request permission to connect with LinkAssist. Click Allow to authorize access.
This connection enables LinkAssist to:
- Analyze your profile to understand your industry, experience, and background.
- Sync analytics & growth metrics (impressions, engagements, followers) directly to your dashboard.
- Personalize AI suggestions to match your target audience and domain expertise.
Step 3: Complete the Preference Setup (User DNA)
After authentication, LinkAssist guides you through a 6-step personalized onboarding wizard. This configures your User DNA, allowing the AI to generate content in your authentic voice.
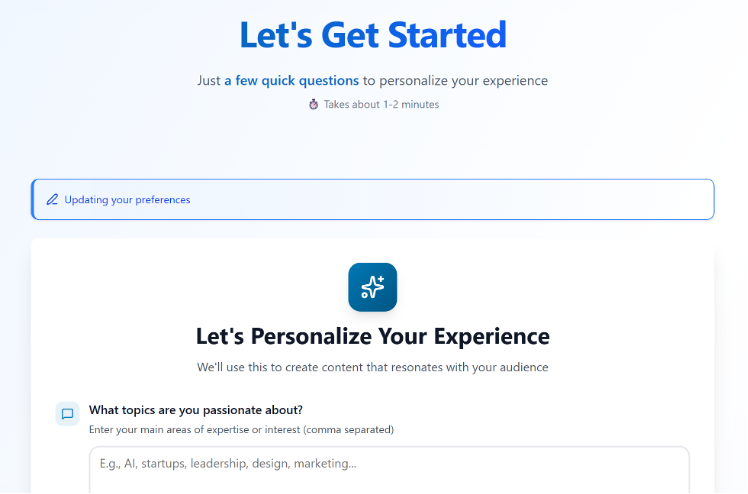
Onboarding Stages Breakdown:
-
Select Your Primary Goal: Choose what drives your LinkedIn strategy:
- Build thought leadership (Establish deep domain authority)
- Generate leads & clients (Attract business pipeline and inbound leads)
- Grow personal brand (Expand follower reach and visibility)
- Advance your career (Attract recruiters and executive opportunities)
-
Select Your Category: Pick your professional category (Coach / Trainer, Doctor / Healthcare, Engineer / Developer, Founder / Entrepreneur, Finance Professional, or Consultant). This applies industry-specific content frameworks and compliance guidelines.
-
Define Your Topics & Formats:
- Enter your Main Topics (e.g., Business Analytics, B2B SaaS Growth, Leadership).
- Multi-select your preferred Content Formats:
- Personal stories & experiences (Journey and lessons learned)
- Industry insights & opinions (Perspectives on market trends)
- Tips & how-tos (Practical frameworks and actionable guides)
- Announcements & updates (Company milestones and product news)
-
Choose Your Writing Style: Select the tone that matches your personal communication style:
- Educational & casual (Informative, friendly, and approachable)
- Friendly & opinionated (Personal with strong points of view)
- Insightful & professional (Authoritative, data-backed, and executive)
- Short & crisp (Punchy, scannable, and high-impact)
- Witty & humorous (Engaging, entertaining, and creative)
-
Add Your Credibility Details: Provide specific background data so your posts avoid generic advice:
- Target Audience: Who you want to reach (e.g., Founders of early-stage SaaS).
- Audience Pain Points: What they struggle with (e.g., Pipeline drying up after initial 20 customers).
- Proof Points: Real metrics and achievements (e.g., Scaled ARR from $0 to $10M+).
- Strong Opinions: Contrarian viewpoints that spark genuine debate.
-
Preferences Updated: Your AI engine is now calibrated. Click Go to Dashboard to enter your workspace.
Creating Your First Content: The "Write Post" Workflow
Once inside your Dashboard, click the prominent Write Post button at the top of the left sidebar or from the Get Started checklist.
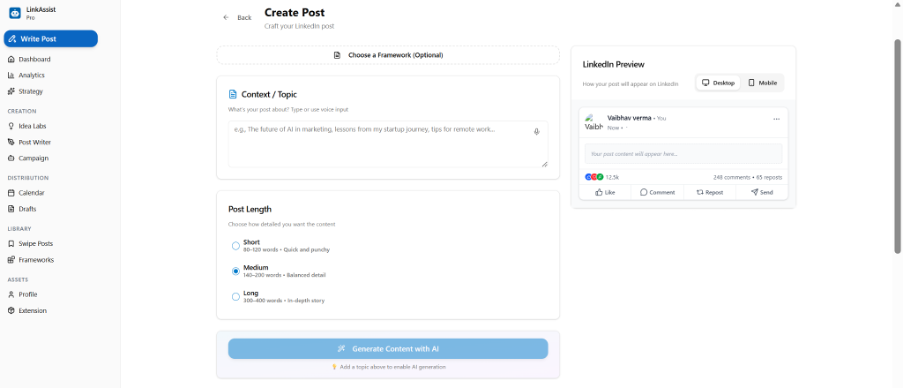
When you click Write Post, a modal appears asking you to choose your starting path based on your current state of mind:
1. 💡 "I have an idea"
"You already know what to write — let LinkAssist help you craft it perfectly."
Choose this option if you already have a topic, rough notes, voice memo transcript, or an outline.
- How it works: Paste or type your raw thought. LinkAssist's AI restructures it using proven LinkedIn formatting (scroll-stopping hooks, clear white space, bullet points, and engaging calls-to-action) while preserving your core message.
- Best for: Translating meeting takeaways, client stories, or sudden brainstorming thoughts into publication-ready posts in seconds.
2. ✨ "I don't have an idea"
"Get personalized Idea topic suggestions and generate your post."
Choose this option if you are facing writer's block or want high-performing topic ideas tailored to your niche.
- How it works: LinkAssist scans your User DNA (configured in Step 3), current industry trends, and proven viral frameworks to suggest fresh, ready-to-use post angles.
- Best for: Consistent daily posting without having to brainstorm from scratch.
Pro Tip: Repurposing Content
In addition to text ideas, the Post Writer allows you to repurpose YouTube videos, blog articles, PDFs, and web pages into LinkedIn carousels and text posts.
What's Next?
Now that your account is active and configured, explore these core modules to scale your LinkedIn presence:
Post Writer
Learn all advanced modes of the AI Post Writer, including tone tuning and viral hook generators.
Idea Labs
Turn a single thought into multiple hook-ready angles and infinite content ideas.
Dashboard & Analytics
Track your impressions, audience growth, consistency score, and engagement metrics.
Chrome Extension
Generate smart AI comments and save top LinkedIn posts to your swipe file directly from your feed.